Deprecated: Function create_function() is deprecated in /home/elizab32/public_html/blog/wp-content/themes/prophoto5/classes/pathfixer.php on line 20
Deprecated: Function create_function() is deprecated in /home/elizab32/public_html/blog/wp-content/themes/prophoto5/classes/pathfixer.php on line 22


 ]]>
]]>


Thank you for taking time to look and please continue on to view the photography of Natalie Fay Green. Her photography, both honest and refreshing, explores the beauty that can be found in her everyday life. Her work is currently on display in the juried show Voyages at The Kiernan Gallery.
]]>
I hope everyone had a spooky and sweet Halloween! It was an especially fun day for us because my oldest turned 8! School parties, cupcakes, candy, and costumes–who wouldn’t love all that on their birthday?
Now for the Halloween pictures!

They are hugging and smiling! It is a photo miracle–normally they hug and then some shoving and pulling ensues and pretty soon they are on the ground yelling at each other.

Somebunny (sorry I’ve been dying to use a pun) didn’t want anything to do with my camera. She did, however, have a full on “I want mommy night”!
She giggled and clapped and sang to me as we trick or treated through the neighborhood.

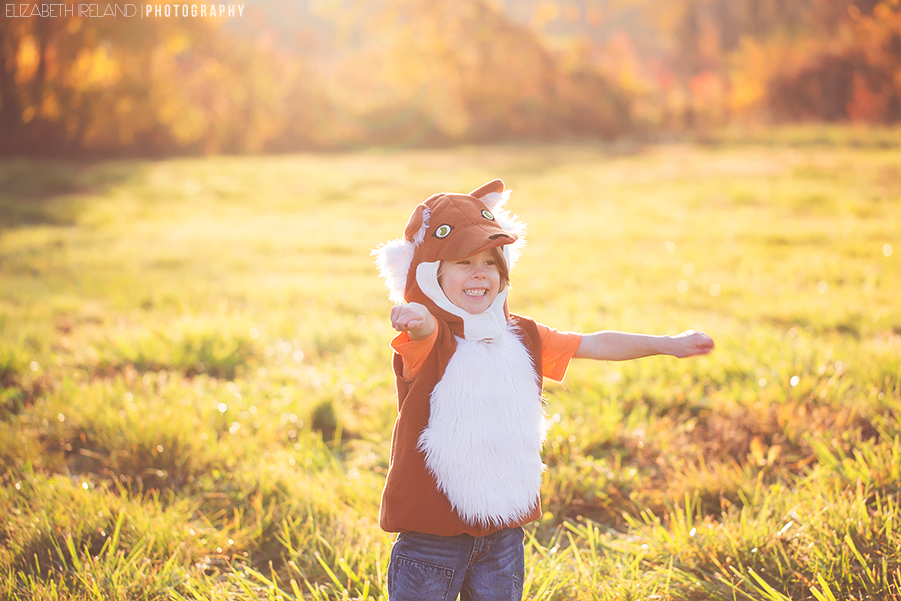
What does the fox say? My little fox said “thank you” as he trick or treated! He was MELT MY HEART cute. He was much more of a trickster at the school parties 

She wanted to be a zombie princess but I am so glad I talked her into using her owl costume one last time!
Poor girl, even though I brought Crisco to the party for her to use instead of peanut butter, she still managed to get a little bit of peanut butter on her forearms.
Then she couldn’t stop scratching and touched her face with her hands, so she had hives there too!
It was funny to watch her pick through the candy buckets and happily give her older brother all the candy with peanuts.


My Birthday boy!!! How cute is he as a hammerhead shark!
Thanks for looking and as always please help us continue our blog circle and feel free to leave comments on my blog and the others you visit!
I can’t wait to see what Natalie came up with for our spooky theme…will it be a trick -OR- treat? Click here to find out!
]]>

Please help us continue our blog circle by viewing the wonderful photographic journey of Tamra Yandow.
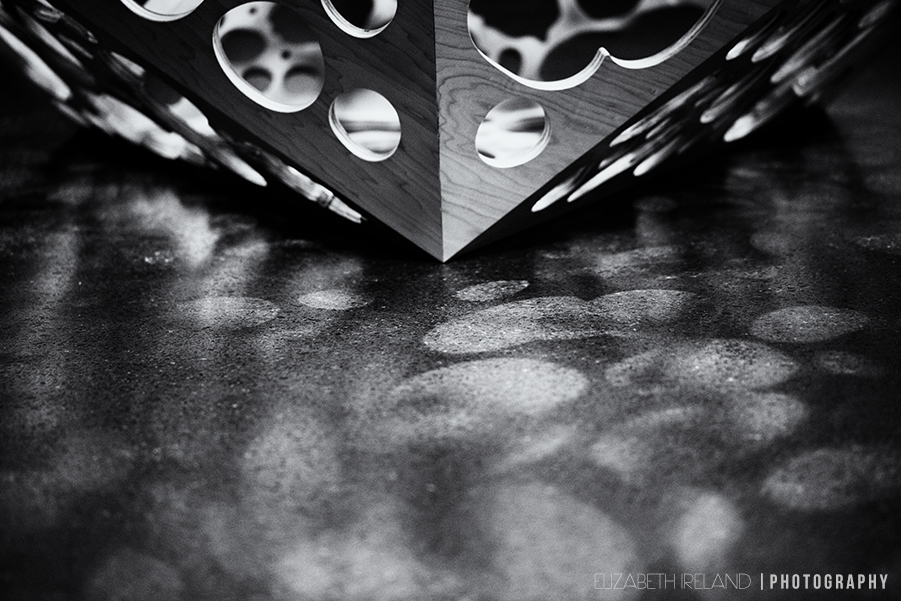
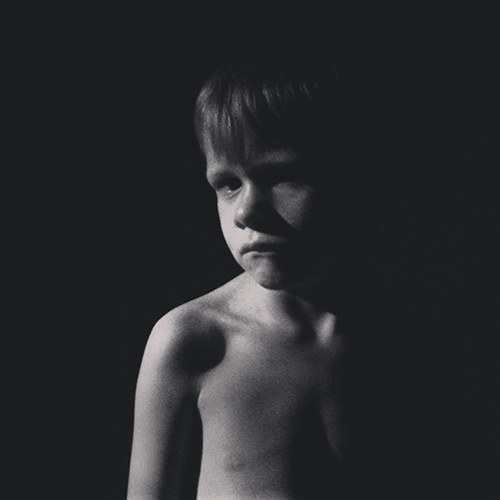
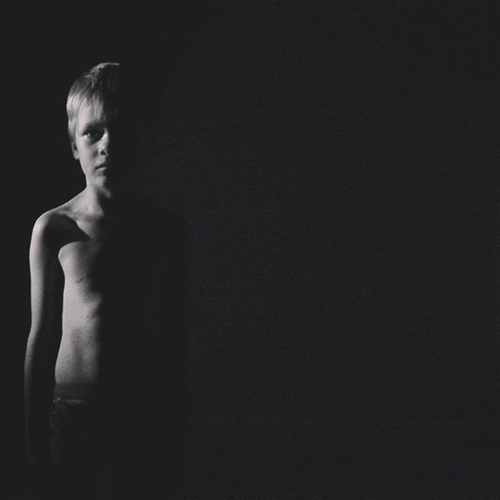
]]>Lighting: In these first two images, I showed him how a simple flash light can be used to add drama and interest to a scene. During this lesson we also had a lot fun making shadow puppets and giant “kid eating” dinosaurs on the wall.
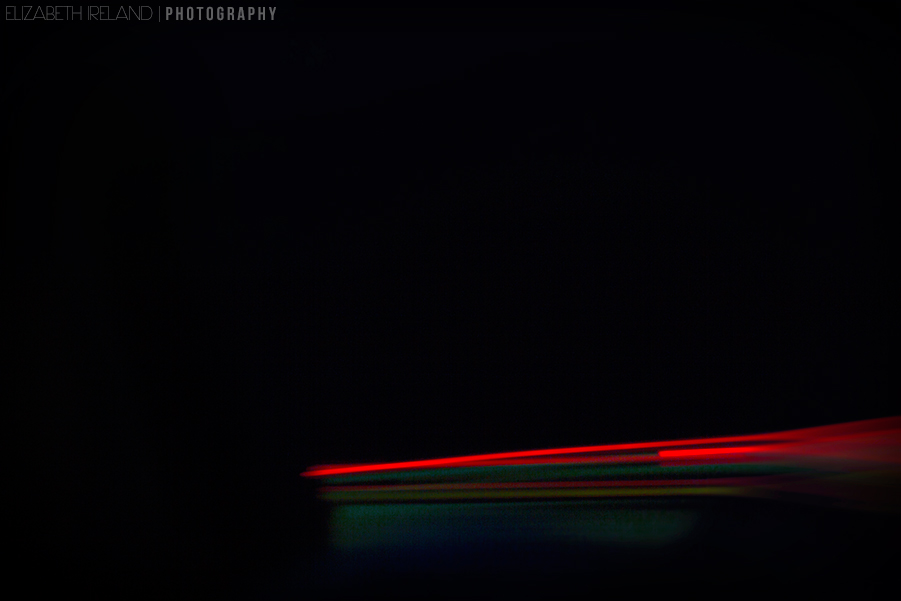
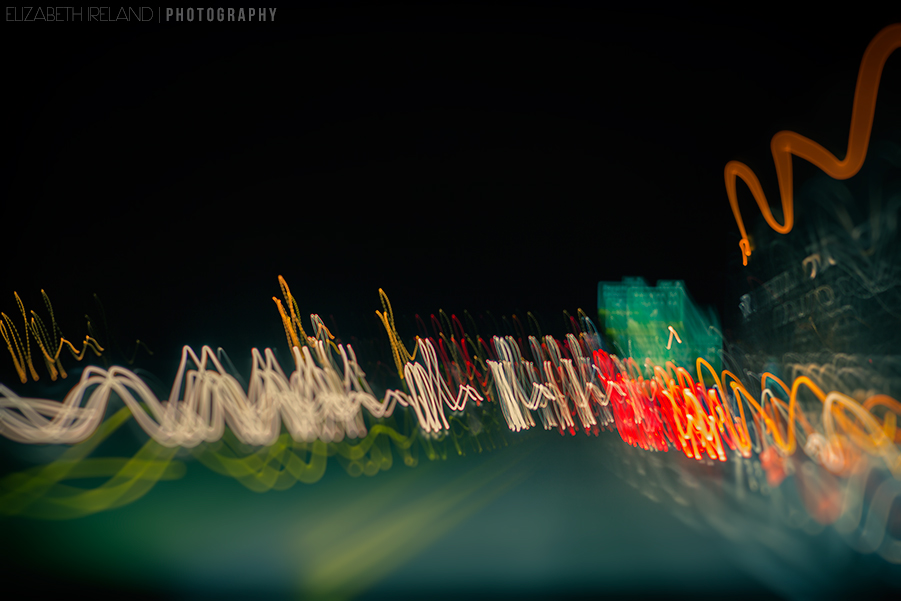
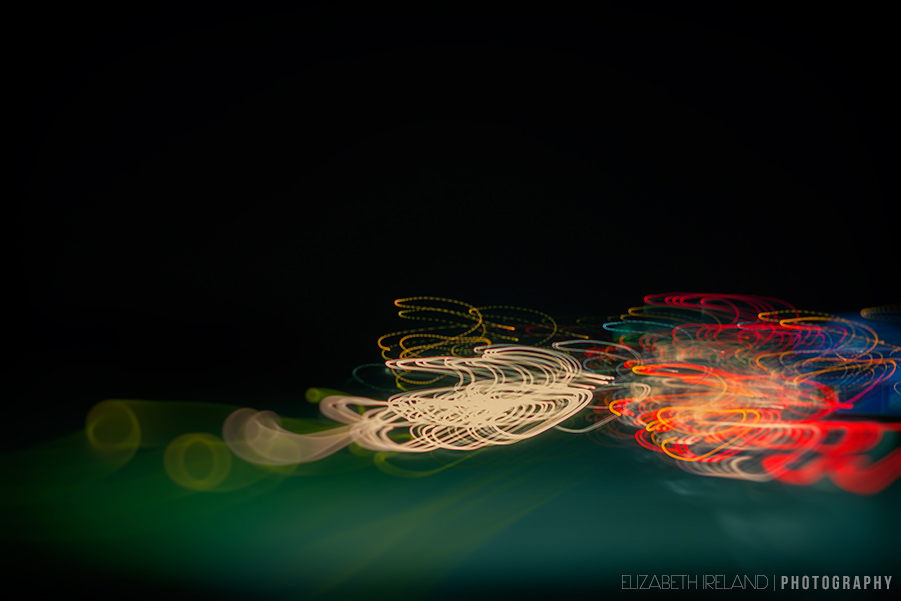
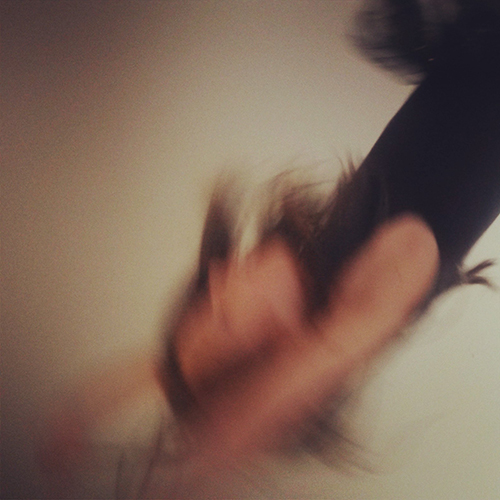
Motion Blur: These next two images focused on motion blur. This was the simplest lesson since they are always moving! just frame up the shot and click (or tap) no need to try to get them to “stand still.” Frankly, that pleased me a great deal since that request is almost always met with groans and well… movement. As if a five year old, in full ballerina attire, could ever stand still MOM!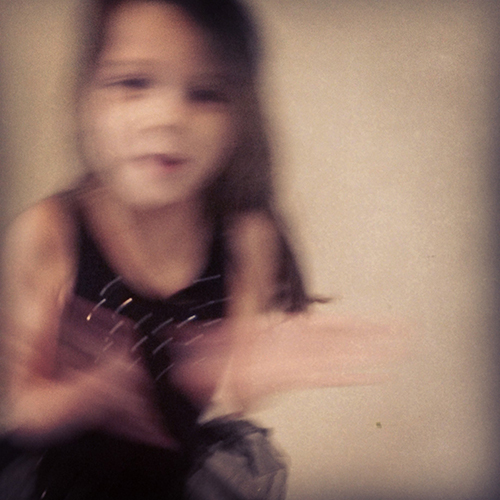
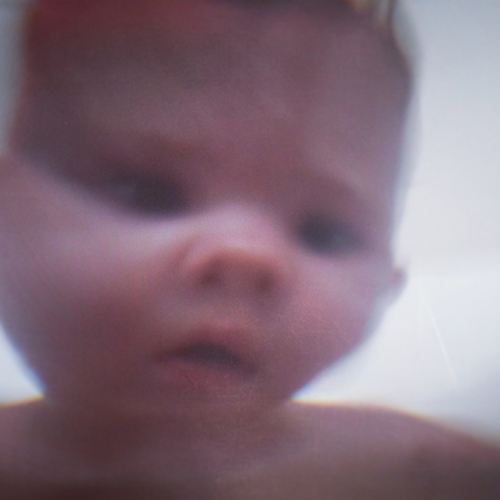
Distortion: This last image was taken from underwater looking up at the baby (I just got an S4 Active–yay no more worrying about my phone getting wet, although I am sacrificing camera quality). I showed him how deliberately tilting the camera towards and away from the subject changes the way the image is recorded. The water also adds to the overall distorted look of her face. He thinks his sweet baby sister looks like a pig, because her nose looks like a snout. I think she looks like one of those antique eery dolls. Doll sounds much nicer than pig.
Please continue our exploration of mobile phone photography by visiting the very talented Elena S. Blair Photography. Elena is a natural light photographer that specializes in newborn, child and family portraiture. Her beautiful family portraiture work was just recently featured on ABC’s The View.
]]>The base image was shot using a Canon 5D mk III | 100mm f2.8 L lens | at f4.0.

I ran that image through a series of filters emulating the effects of various traditional lenses:
Canon 50 mm f1.8 @ f1.8 and f5.6 (not a big difference here)
Canon 85mm f1.2 @ f1.2 and f5.6 (at f5.6 it is quite nice but still needs a little work)

Nikon 105mm f2.8 Macro@ f5.6

Zeiss 100mm f2.0 Makro (modified) at f2.0 and f5.6 (again I prefer the 5.6 version but the shape of the bokeh region needs to be adjusted)

Mirror Lens (just a fun cool effect that works well with this image)

Some of the examples are extreme (I left the adjustment as default to show the full effect) and would certainly need to be tweaked to be a usable image, which is easy to do within the plugin. You can fully adjust the effect by changing the shape and size of the bokeh region and the amount of bokeh. 
If you prefer to not use the traditional lens option, you can create your own custom lens effect. Bokeh 2 also offers motion blur selections and a variety of creative aperture options like hearts and stars.

Overall Bokeh 2 is great for enhancing the effect of a shallow depth of field if you were unable to shoot wide open -or- if you prefer to have more of the field in focus but still want the flexibility to change that in post production. In this case, I like how it smoothed out the bokeh at f5.6 while still leaving some texture in the image.
Please help us continue our blog circle by checking out what Narelle Bailey did with this months theme!
 Sunset
Shot 4.30.13
Canon 5D mk III
100mm 2.8 L
Settings: Aperture 3.5, ISO 100, SS 1/400
Please continue our blog circle by checking out what Tamra did for this months clallenge!
]]>

From right to left:
Nonfat Plain Greek Yogurt topped with Cinnamon
Honey
Grape-nuts Cereal
Sweet Potato Puree
Grape-nuts Cereal
Sweet Potato and Chocolate Puree

Please continue our blog circle by checking out what my talented friend Kristi has done with the food photography theme–here’s a hint, it will make you smile!
]]>

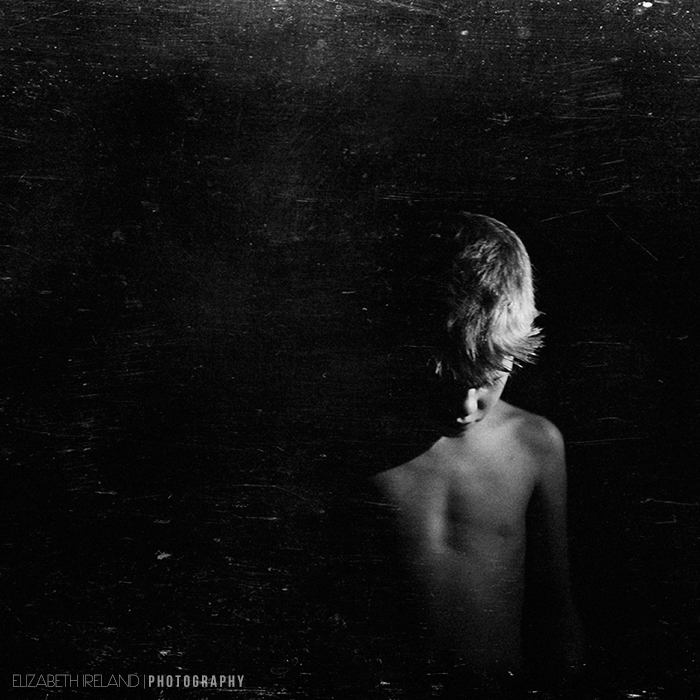
The Anatomy: Single Frame Self Portrait
Stage One: Conceptualization
I started the process of conceptualizing the frame by journaling what kind of tone/mood I wanted the image to have. The words bare
and fresh, kept coming up during this process, so I knew that it would be a bare image of my face.
Pores, creases, dark circles and age spots–nothing would be cosmetically retouched. Once I had the basic idea, I began to sketch out the image and how I would incorporate the use of water, to further the notion of a bare, fresh face.
Stage Two: The Shoot
Supply list: Canon 7D and 100mm
2.8 L Lens, tripod, remote shutter, expodisc, a garden hose with an adjusting spray nozzle.
I set up the tripod and adjusted for composition, used my exposdisc to set custom white balance and to set exposure. I tested the sprayer, using my son as my assistant (my 7 year old found it very FUN to spray me with water–especially when I let out a huge scream). I underestimated how cold the water would be and how close the camera was, so I readjusted its location and settled on fixing composition in post production. I misted my wet hair first to create the beads of water and then used the full stream shower to simulate rain. This frame was taken right before I got a face and mouth full of water. Initially, I wanted to play with adjusting the shutter speed to change the effect of the rain but I was having a very hard time standing still, while being soaked with freezing cold water, so I quickly wrapped the shoot. I make for a terrible model.
Note: it started raining as we packed up the equipment–the irony.
Stage Three: Post Production
I opened the image in ACR and adjusted the exposure (the light was in and out the entire time–due to the clouds).
Once in Photoshop (CS5) I did a quick levels adjustment.
Next, I created a new merged layer and set this layer to screen. I created a layer mask and painted over the eyes with a soft brush (white) and set the layer to 50% opacity.
I created another merged layer and ran smart sharpen to bring out the details in the beads of water (sadly my hair is not over sharpened–it’s just that dry, post baby hair is the pits).
I used an adjustment layer and adjusted the contrast slider to -25.
I used two different curves layers (with masks set to multiply) to dodge and burn parts of the background, hair and skin.
*Saved Photoshop file.
The last thing I did was to increase the amount of negative space. To do this, I used the rectangle marque tool and selected all of the image EXCEPT the camera right portion of my face, copied the selection and then pasted on a new layer. I moved the new layer all the way to the right. I now had an ugly line down the center left half of the image. I used the clone stamp (adjusting blend mode between normal, darken and lighten) to remove the crease, symmetrical rain streaks, and to blend the colors of the background. I also painted a little gray with a soft brush set at 10%-20% opacity to smooth out the sky and add a little depth. Saved for print and web.
The second image:
I opened the saved file from earlier (before I adjusted composition) in Lightroom and recomposed for a vertical image.
Saved for print and web.
The Takeaway: I would have done a few things differently, but with that being said, it was an excellent exercise in creativity. By following a single frame from conception through post production, I was able to be more conscious of when and why I make creative concessions and how to bring back that original vision in post production.

This year I am participating in a Clickin’ Moms challenge blog circle with a group of extremely talented female photographers. Next months challenge is FOOD PHOTOGRAPHY (can you tell by the all caps that I am just a little bit excited for next months challenge). I am personally challenging myself to create an original recipe and shoot it. I have this crazy fantasy of transforming Starbucks drinks into cupcakes. Think of all the yummy research I get to do! Which Starbucks drink would you like to see me turn into a cupcake?
For now, please continue our blog circle and visit Lauren Sanderson Photography and don’t forget to leave her some blog love!
]]>